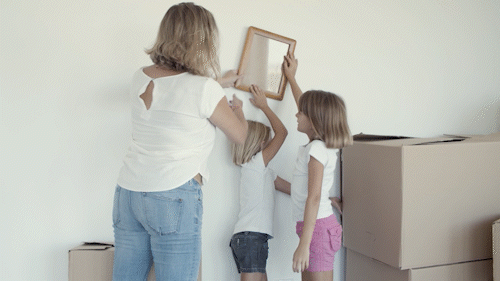


Take a moment to decide where your item will shine the most. With just one hole to think about, choosing the perfect spot is fun and easy—no overthinking required!
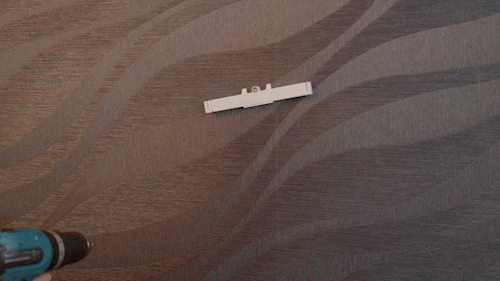
Pull the adjustable arms of the Fitholder outward to match the width of your item. This ensures the perfect alignment for your hanging needs. It is easier to do this before hanging the Fitholder.
Place the Fitholder on the wall and attach it with a single screw. Keep it a little loose—you’ll adjust it in a moment.
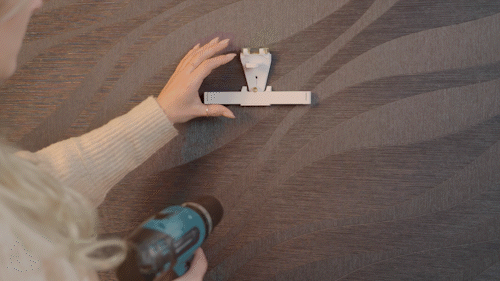
Click the included level onto the Fitholder to ensure a perfectly straight alignment. This step eliminates guesswork and ensures professional results.
Once the level confirms the Fitholder is straight, tighten the screw securely to fix it in place.
Detach the level once the Fitholder is firmly secured. Your setup is now perfectly aligned.
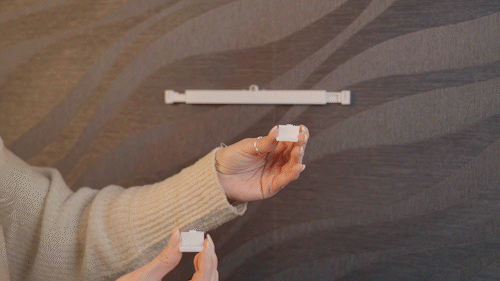
Attach the appropriate fittings to the ends of the Fitholder arms. These fittings are designed to hold a variety of items securely.
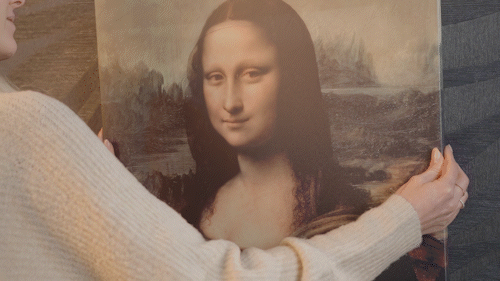
Carefully place your picture, canvas, or other items onto the Fitholder. Enjoy a perfectly hung display in minutes!
Step back and admire your work! With the Fitholder, you’re part of a new era of smart, simple, and sustainable hanging solutions. Welcome to the revolution!